
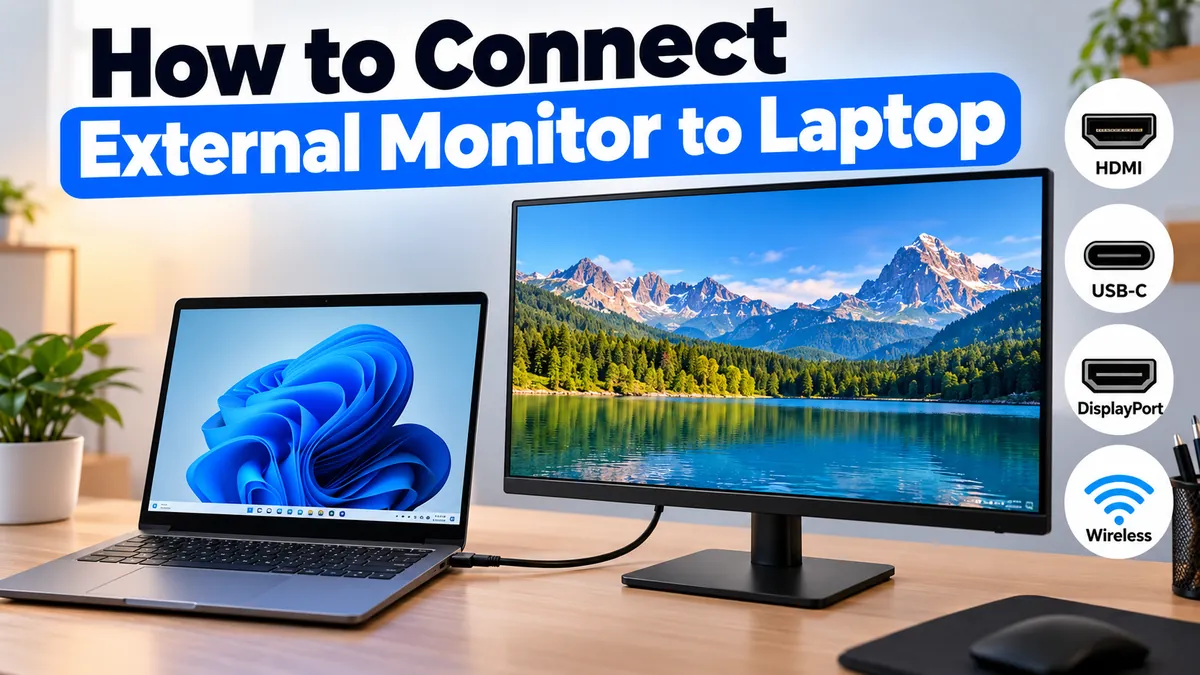

Connecting a second screen can make a laptop far more comfortable for work, study, gaming, presentations, or everyday multitasking. The setup is usually simple, but the correct cable and settings depend on the ports supported by your laptop and monitor.
If you want to know how to connect external monitor to laptop, start by identifying the video ports on both devices. Connect them with HDMI, DisplayPort, USB-C/Thunderbolt, or a compatible adapter, power on the monitor, select the correct input source, and then configure Windows or macOS to extend or mirror your desktop. Microsoft Support
How to Connect External Monitor to Laptop Step by Step
For most laptops, connecting an external display takes only a few minutes. Before buying a cable or adapter, however, check exactly which connections your laptop supports.
1. Check the Ports on Your Laptop
Look along the sides or back of your laptop for a video-capable port. Common options include:
- HDMI: One of the simplest and most common connections for monitors and TVs.
- USB-C: Some USB-C ports support video output, while others are intended only for charging or data.
- Thunderbolt: Uses a USB-C-shaped connector on recent laptops and can support displays, data, and other peripherals.
- DisplayPort or Mini DisplayPort: Found on some laptops, particularly older or business-oriented models.
- VGA: An analog connection mainly found on older laptops and monitors.
Do not assume every USB-C port can drive a monitor simply because the connector fits. Video capability depends on the laptop’s hardware and port specifications.
If you are unsure, check the laptop manufacturer’s specifications or user manual.
2. Check the Monitor’s Input Ports
Next, look at the back or underside of your external monitor.
You may see HDMI, DisplayPort, USB-C, VGA, DVI, or several of these together. Modern monitors commonly provide multiple inputs so that the same display can be connected to different computers.
The easiest setup is a direct connection where both devices share the same compatible interface—for example:
| Laptop Port | Monitor Port | What You Need |
|---|---|---|
| HDMI | HDMI | HDMI cable |
| USB-C with video | USB-C | Video-capable USB-C cable |
| USB-C/Thunderbolt | DisplayPort | USB-C to DisplayPort cable/adapter |
| USB-C/Thunderbolt | HDMI | USB-C to HDMI cable/adapter |
| DisplayPort | DisplayPort | DisplayPort cable |
| HDMI | VGA | Active HDMI-to-VGA adapter may be required |
Apple similarly recommends identifying the ports on both the Mac and display before choosing a cable or adapter. Apple Support
3. Connect the Cable
Once you have the correct cable:
- Connect the monitor to power.
- Turn the monitor on.
- Plug one end of the video cable into your laptop.
- Plug the other end into the monitor.
- Select the corresponding input on the monitor if necessary.
For example, if the cable is connected to the monitor’s HDMI 1 port, choose HDMI 1 from the monitor’s input or source menu.
Dell’s setup guidance likewise recommends connecting power and the appropriate HDMI, DisplayPort, Thunderbolt, or USB-C cable, then selecting the corresponding video source on the monitor. Dell
4. Wait for the Laptop to Detect the Monitor
Modern Windows laptops and Macs normally detect a properly connected monitor automatically.
Your desktop may appear immediately on the second screen. It might initially duplicate your laptop display, extend the desktop, or use a default resolution that you later need to adjust.
If nothing appears, don’t immediately assume the monitor or laptop is faulty. A wrong input source, incompatible cable, or USB-C port without video support can produce the same symptom.
How to Connect External Monitor to Laptop With HDMI
HDMI is usually the easiest option when both your laptop and monitor have HDMI ports.
Plug an HDMI cable into the laptop’s HDMI output and connect the other end to an HDMI input on the monitor. Turn on the monitor and select the correct HDMI input.
HDMI can carry both video and audio. If your monitor includes speakers, your operating system may automatically switch audio output to the monitor after the connection is made.
If it does not, you can select the preferred audio output manually in your system’s sound settings.
What If the Laptop Has HDMI but the Monitor Doesn’t?
You may need an adapter or conversion cable.
For example, a laptop with HDMI can potentially connect to a DisplayPort, DVI, or VGA monitor using suitable hardware. However, adapters are not always bidirectional.
An adapter designed for DisplayPort-to-HDMI, for instance, should not automatically be assumed to work in the opposite direction.
Always check the adapter’s specified signal direction before buying it.
How to Connect a Monitor Using USB-C
USB-C can provide an especially clean laptop setup because compatible implementations can carry video and, in some setups, data and power through a compact connector.
However, the connector shape alone does not guarantee display functionality.
For a USB-C monitor connection, the laptop’s USB-C port must support an appropriate video-output technology, such as DisplayPort Alt Mode or Thunderbolt, depending on the hardware.
Apple notes that compatible USB-C/Thunderbolt adapters used for displays must support appropriate display technologies, and its Macs can use USB-C/Thunderbolt connections with several types of external displays. Apple Support
USB-C to USB-C
If both the laptop and monitor support video over USB-C, connect them with a video-capable USB-C cable.
Some USB-C monitors can also deliver power back to the laptop through USB Power Delivery. This can allow one cable to handle the display signal and laptop charging.
Support and available charging wattage depend on the particular laptop, monitor, and cable.
USB-C to HDMI
If your laptop provides video through USB-C but the monitor only has HDMI, use a compatible USB-C-to-HDMI cable or adapter.
For example, Apple officially supports HDMI connections through appropriate adapters on compatible Macs equipped with USB-C or Thunderbolt ports. Apple Support
USB-C to DisplayPort
DisplayPort is another useful option, particularly for monitors designed for higher resolutions or refresh rates.
A USB-C-to-DisplayPort cable can connect a compatible laptop’s USB-C/Thunderbolt output directly to the monitor’s DisplayPort input.
Again, verify the laptop’s USB-C port supports video output first.
How to Set Up an External Monitor in Windows 11
After making the physical connection, Windows lets you decide how the second display should work.
Open:
Settings > System > Display
Windows should show numbered rectangles representing the detected screens. You can use Identify to determine which number belongs to each physical display. Microsoft also lets you rearrange these displays so their virtual positions match their physical positions on your desk. Microsoft Support
Choose Duplicate or Extend
An even faster method is to press:
Windows key + P
Microsoft provides four primary modes: Microsoft Support
| Display Mode | What It Does | Useful For |
|---|---|---|
| PC screen only | Uses only the laptop screen | Portable use |
| Duplicate | Shows the same content on both displays | Presentations |
| Extend | Creates one larger desktop across both screens | Multitasking |
| Second screen only | Uses only the external display | Desk setups |
For everyday productivity, Extend is usually the most flexible mode because each screen becomes a separate part of your desktop.
You can keep a browser or document on one screen while working in another application on the other.
Arrange the Displays Correctly
Suppose your external monitor is physically positioned to the left of your laptop, but Windows thinks it is on the right. Your mouse will seem to move in the wrong direction between screens.
In Display settings, drag the numbered monitor rectangles until they match the actual arrangement on your desk.
Apply the change and test your cursor movement.
Change Resolution and Scaling
Select the external monitor under Settings > System > Display.
You can then adjust settings such as display resolution and scaling. For the sharpest image, the monitor’s native resolution is normally the appropriate starting point.
Scaling changes the apparent size of text, icons, and applications without necessarily lowering the display’s native resolution.
Adjust the Refresh Rate
Windows also allows compatible displays to use different refresh rates. Microsoft includes refresh-rate adjustment among its multiple-monitor settings. Microsoft Support
If you bought a high-refresh-rate monitor but it is running at a lower rate, check the display’s advanced settings as well as the capabilities of your cable, adapter, port, and graphics hardware.
The entire connection chain matters. A monitor capable of a particular resolution and refresh rate cannot necessarily operate at that setting through every cable or adapter.
How to Connect External Monitor to Laptop on a Mac
The basic process on a Mac is similar.
Connect the external display to power, then connect its video cable to a compatible HDMI, Thunderbolt, or USB-C port on your Mac. If the connectors do not match, use a compatible adapter or different cable. Apple says a properly powered and connected display should normally be detected automatically. Apple Support
Then open:
Apple menu > System Settings > Displays
From here, you can configure options such as resolution, refresh rate, display arrangement, and other supported settings. Apple Support
Mirror vs. Extend on Mac
You can configure the external monitor either to mirror your Mac’s screen or provide additional desktop space.
Mirroring is useful when another person needs to see exactly what appears on your laptop.
An extended desktop is better when you want more workspace.
The exact number of external monitors a Mac supports varies by model, chip, resolution, and refresh rate, so users planning a multi-monitor setup should check the specifications for their particular Mac rather than assuming every model has identical capabilities. Apple Support
Can You Connect an External Monitor Wirelessly?
Yes, depending on the laptop, operating system, and receiving display.
Windows 11 supports wireless connections to compatible Miracast displays.
Press:
Windows key + K
Then select the compatible wireless display from the available devices. Microsoft notes that both the PC and target display need the necessary wireless-display support; an HDMI-connected Miracast adapter can also be used with some displays. Microsoft Support
Wireless display connections are convenient because they eliminate a physical video cable. However, a wired connection is generally preferable when consistent responsiveness and predictable display performance matter.
How to Connect Two External Monitors to a Laptop
Connecting two monitors requires more than simply finding two physical connectors.
First, determine how many external displays your laptop and graphics hardware officially support. Then check which ports can output video simultaneously.
Possible setups include:
- Two direct video connections from the laptop
- USB-C/Thunderbolt plus HDMI
- A compatible docking station
- A multi-display USB-C adapter
- A Thunderbolt dock
- Supported daisy-chaining configurations
A docking station is particularly convenient for a permanent desk because monitors and peripherals can remain connected to the dock while the laptop connects through one primary cable.
Don’t Confuse an HDMI Splitter With Extended Displays
A basic HDMI splitter takes one video signal and sends copies of it to multiple screens. That normally means both monitors show the same content.
It does not create two independent extended desktops.
HP specifically distinguishes HDMI splitters from multi-display adapters and docking solutions, noting that a splitter is suitable for mirroring rather than extending the desktop across independent monitors. HP
If you need three separate workspaces—your laptop screen plus two independent monitors—verify that your laptop and chosen dock or adapter explicitly support that configuration.
Why Is My Laptop Not Detecting the External Monitor?
A blank screen is one of the most common problems when learning how to connect external monitor to laptop.
Work through the connection logically rather than changing multiple settings at once.
Check the Monitor’s Input Source
This is easy to overlook.
If your HDMI cable is plugged into HDMI 2 but the monitor is currently displaying DisplayPort, the screen may simply report “No Signal.”
Open the monitor’s built-in input menu and select the port you actually connected.
Reconnect the Cable
Disconnect the video cable at both ends and reconnect it firmly.
If possible, test another known-working cable. A cable can physically fit yet still be faulty or unsuitable for the resolution, refresh rate, or connection type you are trying to use.
Verify USB-C Video Support
If you’re using USB-C, confirm that the specific laptop port supports display output.
This matters because USB-C describes the connector, not one universal set of capabilities.
Check your laptop manufacturer’s technical documentation for display support through that port.
Try Another Port
If your monitor has several HDMI or DisplayPort inputs, try another input.
Similarly, if your laptop provides multiple video-capable USB-C or Thunderbolt ports, testing another supported port can help isolate the problem.
Detect the Display in Windows
Open Settings > System > Display and check the multiple-display options.
Microsoft recommends confirming that cables or docks are connected properly and checking Windows Update when troubleshooting external displays. Microsoft Support
Check Windows Updates and Graphics Drivers
Display problems can sometimes be related to software or graphics drivers.
Run Windows Update and install applicable system updates. Depending on your laptop, graphics drivers may come from Intel, AMD, NVIDIA, or the laptop manufacturer.
Microsoft specifically recommends checking Windows Update as part of its external-monitor setup guidance. Microsoft Support
Restart the Devices
Turn off the monitor and restart the laptop, then reconnect the display.
This simple step can clear temporary display-detection problems.
Test the Monitor Separately
Connect the monitor to another computer or compatible device if possible.
Likewise, test your laptop with another monitor or TV.
This helps identify whether the problem follows the laptop, cable, adapter, or display.
Why Does the External Monitor Look Blurry?
A successful connection does not always produce the best picture automatically.
First, check the monitor’s native resolution. Running an LCD at a non-native resolution can make text and interface elements appear less sharp.
Then review:
- Display resolution
- Operating-system scaling
- Refresh rate
- Cable capabilities
- Adapter specifications
- Monitor picture settings
- Graphics-driver settings
Apple likewise notes that display settings can control resolution and refresh rate, while some non-Apple monitor options may need to be adjusted through the monitor’s own controls. Apple Support
Can You Close the Laptop While Using an External Monitor?
Yes, many laptops can operate with the built-in display closed, but the configuration varies by operating system and hardware.
On Windows, review your laptop’s power and lid settings so closing the lid does not automatically put the computer to sleep when you intend to use the external monitor.
Compatible MacBook models can also operate with external displays while the lid is closed under supported configurations. Apple documents this capability for current MacBook Pro models. Apple Support
For a closed-lid desk setup, an external keyboard and mouse are normally needed.
Also make sure the laptop can cool properly. Avoid placing it somewhere that blocks its ventilation.
Which Connection Should You Use?
If several connections are available, choose according to the laptop, monitor, and performance you need.
HDMI is convenient and widely compatible.
DisplayPort is common on computer monitors and can be useful for high-resolution and high-refresh-rate configurations when supported.
USB-C can provide a cleaner desk setup and, on compatible hardware, combine video with other functions.
Thunderbolt is particularly useful for higher-performance docks and multi-device setups, subject to the capabilities of the laptop and dock.
VGA is mainly a legacy option. Use a modern digital connection where practical.
The most important point is compatibility across the entire signal path: laptop graphics hardware → output port → cable or adapter → monitor input.
Practical Tips for a Better Dual-Screen Setup
Once the monitor is working, a few adjustments can make the setup much more comfortable.
Place the screen you use most directly in front of you. If the laptop is the secondary display, position it beside the main monitor rather than forcing yourself to turn constantly.
Match the virtual display arrangement in Windows or macOS to the physical layout on your desk. This makes dragging windows and moving the cursor between screens feel natural.
If the two displays have very different resolutions or pixel densities, experiment with scaling until text is comfortable to read on both.
For a permanent workstation, a compatible USB-C or Thunderbolt dock can also reduce cable clutter by keeping the monitor and peripherals attached to one central connection.
Common External Monitor Setup Mistakes
Most connection problems come from a handful of avoidable mistakes.
Buying a USB-C cable without confirming video support is one. Assuming every adapter works in both directions is another.
Other common issues include selecting the wrong monitor input, using a cable that cannot handle the intended display mode, expecting an HDMI splitter to create independent desktops, or assuming every laptop supports the same number of external displays.
Checking the specifications of the laptop, monitor, cable, adapter, and dock before buying accessories saves considerable troubleshooting later.
Final Thoughts on How to Connect External Monitor to Laptop
Learning how to connect external monitor to laptop mostly comes down to matching compatible hardware and configuring the operating system correctly.
Identify the ports on your laptop and monitor, choose a suitable HDMI, DisplayPort, USB-C, or Thunderbolt connection, select the correct monitor input, and configure Windows or macOS for an extended or mirrored desktop.
If the monitor is not detected, check the input source, cable, adapter, video capabilities, operating-system settings, and graphics drivers systematically. Once everything is configured correctly, an external monitor can turn even a compact laptop into a much more practical desktop workspace.
